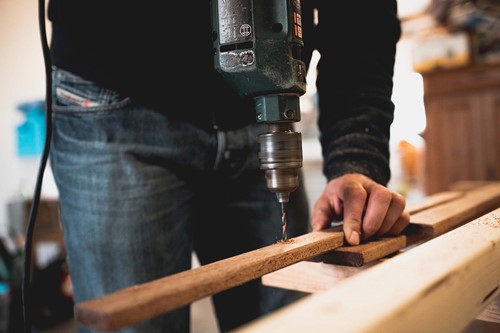
Photo by Thijs van der Weide from Pexels
You may be surprised to learn just how much a little DIY storage bench in your entryway can save you in time and money. Storage benches offer children a place to sit while they remove snowy or muddy shoes. That's less time spent mopping your kitchen or steam-cleaning the carpets.
Save hardwoods from years of damage and wear.
On top of that, a bench can double as storage. Never again will you be racing around your home trying to find your mittens, scarves, rain boots and other outdoor essentials on your way out the door. It's now all in one convenient place.
You can even store backpacks and lunch bags on the weekend -- whatever makes sense for your family.
You might think that making an entryway storage bench is complicated. But we'll show you the easy way to build your bench in less than a day.
*Pro tip* Borrow tools that you may never use again before buying. If you find you want to take on more new projects, you can buy one then.
Here's your guide.
The amount of material varies by the bench size you choose the make. Be sure to measure twice and cut once so that everything fits perfectly.
Your frame becomes your guide for the project. Cut your 2X4's the desired length of the bench. Then cut more for the height. Find the studs. And use that hammer drill to attach the 2X4s to the back wall. Build out from there.
Now build around your frame, using your plywood. Be careful with any tools you use. Just take your time to get it right.
Measure and drill for your hinges. Then simply screw them in.
Place the lid on the ground and drill holes for hinge screws. Then connect the top to the other side of the hinge with screws. You might need a partner hold the lid steady while you to screw in the lid.
You can stop with a basic box. But while you're at it, it won't take much more effort to add some trim and paint it. Then place some hooks above for coats and backpacks.
And now, you have a beautiful DIY storage bench. For more helpful tips on home maintenance and improvement, follow our blog.

Joseph Calla believes that service is paramount. He has become the Realtor of choice for owners of luxury property by giving his clients services far beyond the ordinary. By implementing the most advanced marketing methods and coordinating with his personal network of top-flight real estate colleagues and business contacts, Joseph is able to provide an unmatchable array of services. 954-646-3834